What is Gelli Printing?
Gelli printing, also known as gel printing or gelatin printing, is a form of monoprinting that uses a flexible, gelatin-based plate to create textured and layered prints. This technique is popular in mixed media art and printmaking due to its simplicity, versatility, and ability to produce unique prints with a variety of effects. Gelli printing is used in various art projects, including art journals, scrapbooking, image transfer, card making, fabric printing and lots more!
What You Will Need To Get Started
Gelli Plates come in a number of sizes, so choose which you would prefer to work with!
Gelli Arts essential Tools:
A high-quality brayer is essential for even paint application. It ensures smooth and consistent results when using Gelli plates. To create unique designs use the Gelli Arts comb set!
What paint Should i use?
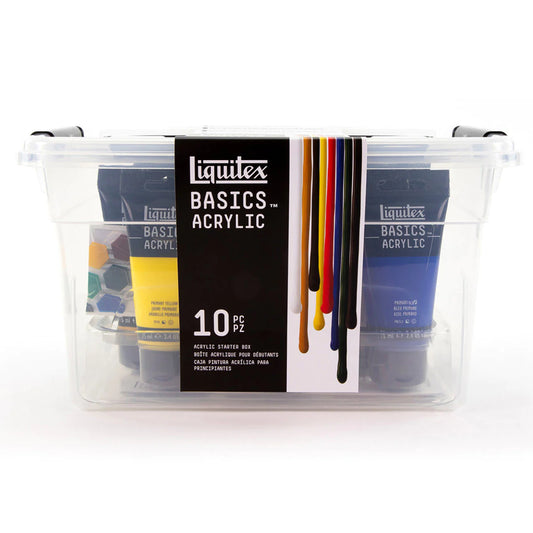
Many paints and inks are compatible with Gelli printing. We recommend using acrylic paints. Liquitex Basics Acrylic delivers a medium viscosity experience that sacrifices nothing. It’s the perfect balance of quality, versatility, economy and is perfect for Gelli printing.
Which Paper should i use?
There are so many papers that are great for Gelli printing! Anything from computer paper to card stock to printmaking paper. A smooth-surfaced paper gives a more detailed print. Glossy coated paper stock is not compatible with the Gelli plates. We recommend using the following paper pads:
HOW TO USE GELLI ARTS PLATES - STEP BY STEP GUIDE

Step 1
Open your Gelli Plate package. Carefully remove the mylar film from both sides. Next, apply a small dot of acrylic paint to your plate.

Step 2
Using a brayer, roll out the paint into a thin layer

Step 3
Create designs by pressing textured objects into the wet paint. You can use the Gelli Arts Comb set to create unique patterns!

Step 4
Lay a piece of paper onto the painted surface. Gently rub the paper with your hands to transfer the paint.

Step 5
Slowly pull the paper from the printing plate to reveal your print!


